Have you ever wanted to add a custom feature, style, or script to your WordPress website? Maybe you just want to have a custom theme in the themes section with your branding on it so that your development looks more custom and professional to your clients.
If you answered yes, we have put together this easy-to-follow step-by-step guide on how to create your own custom WordPress child theme from scratch.
Why Should You Use A WordPress Child Theme?
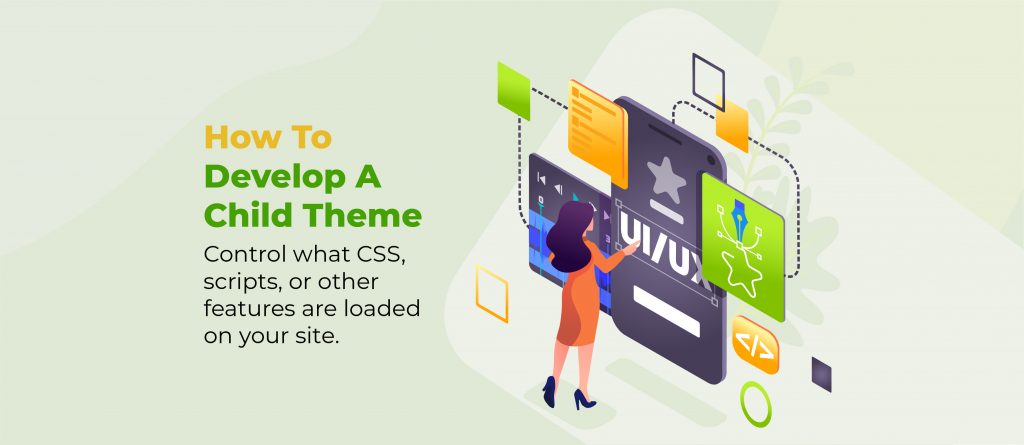
Creating a child theme for your WordPress site is an easy way to make changes and customize the design without impacting any of the existing functionality. Child themes also allow you to have more control over what CSS, scripts, or other features are loaded on your website pages.
For example, if we wanted to load jQuery in with our style sheet that wasn’t something that was included by default with WordPress then using a child theme would be one option for us.
How do WordPress Child Themes Work?
A child theme inherits all of the functionality and styling from the parent theme. When a WordPress site is first loaded, it will look to see if there are any active themes that have been uploaded for use on your website.
If an activated WordPress child theme exists with our branding then that would be what loads up instead – kind of like how you can edit your WordPress background image or colors through the WordPress admin panel without touching anything else about WordPress other than those two things!
Before You Start…
You need to make sure that your WordPress site is already set up and ready to go so that everything works together nicely together in this guide. To do that, download and install WordPress onto your hosting account as normal.
Step 1: Create A Blank WordPress Child Theme
This is done by first creating a new folder in the /wp-content/themes/ directory of your WordPress website and naming it the name of your desired child theme.
Then in this newly created directory (folder), we want to make two files with the same names as what they are going to represent – style.css and functions.php.
The file named “style” will contain all styling information like backgrounds, fonts, colors, spacing, etc., while the function’s PHP file will have any code for features or scripts that you may be adding such as shortcodes or widgets
– Next up comes step two! If you’ve completed step one correctly then congratulations on writing a WordPress custom child theme from scratch!
Step 2: Add Meta Data to Your New Theme
We want to add meta information at the top of your WordPress child theme style.css file so that WordPress knows that this file is the custom child theme and not just some random CSS.
This should be the first line in your style.css file:
/*

Theme Name: {Your desired name for your WordPress Child Theme}

Child Theme URL: http://yourdomain.com

Description: {main theme's name} Child Theme

Author: Your Name

Author URL: http://yourdomain.com

Template: {main theme's name}

Version: 1.0.0

Text Domain: {main theme's name}-child

*/
Step 3: Enque Your New CSS File
Next up we want to edit the functions.php file and add some code that will make it so WordPress knows how to find your child theme style in this directory (folder).
You do this by adding a PHP enqueue script to the top of the functions.php file.
Be sure to have <?php at the very top of your fucntions.php file before any other code.
The end result should look something like this:
<?php

add_action( 'wp_enqueue_scripts', 'enqueue_parent_styles' );

function enqueue_parent_styles() {

wp_enqueue_style( 'parent-style', get_template_directory_uri().'/style.css' );

}

?>
If you have other functions that you’d like to add in the functions.php file you can do so by inserting the PHP code before the closing ?> tag.
This tells WordPress where to find our newly created style sheet with all styling information on it. Once you have added this one line of PHP script WordPress will automatically read through any files inside the “style” folder for styling purposes when loading your website or inside posts/pages.
– Next up is step four! If you’ve completed step two correctly then congratulations on successfully adding WordPress custom child theme code to your functions file!
Step 4: Add A Custom Child Theme Image
Adding a custom image to your child theme that will show up in your WordPress dashboard themes section is not mandatory, but it does add a level of professionalism to your brand if you are developing for a client’s website.
This is done by creating a new image in the /wp-content/themes/{your-child-theme-folder-name} directory and naming it “child-theme-image.jpg”.Step Three: Now that we have our WordPress custom child theme created and the styling in place it’s time for some good old fashion external style sheet action.
We are going to edit the “style” folder (directory) by adding an additional .css stylesheet inside of it with a name like mycustomtheme.css or whatever you prefer – this will be where all branding information, logos, etc., will go
Next, we want to head over back into our WordPress dashboard and click on Appearance > Widgets from one of your WordPress themes.
– Next up is step five! If you’ve completed step three correctly then congratulations on successfully adding a custom WordPress child theme style sheet to your WordPress development project!
Step 5: Active Your New Child Theme
Now that we have our WordPress custom child theme created with styling and branding in place, it’s time to activate it.
You activate your child theme by going to WordPress dashboard > Themes, then selecting “Activate” for the custom child theme you just created.
When it’s activated click on Appearance and start editing away!
If you’ve completed step five correctly then we say congratulations, you have successfully developed a WordPress child theme from scratch!
You now know enough about WordPress development basics such as creating a WordPress custom child theme from scratch, adding styling information, external CSS/JS features, etc., that will help when working on other WordPress projects or updating old ones.
For those who want to develop a more custom child theme here is a basic guide on how you can change the layout of posts and pages using your WordPress child theme.
Changing the layout of a post or page in your WordPress child theme can be done by adding some PHP code to that specific template file.
If you want to use your parent theme’s layout and adust it to your liking, navigate to where that .php file lives in the parent theme’s directory and copy the file and folder structure to your child theme.
For example, if your parent theme’s post layout is:
wp-content/themes/{parent-theme}/page-templates/single-post.php
then copy and create a similar structure in your child theme using the same name:
wp-content/themes/{your-child-theme}/page-templates/single-post.php
TIP: The WordPress function “the_content”; tells WordPress what content goes inside the body section on any given blog post and/or page.
Conclusion
The WordPress development process is not always easy and can be tricky to get the hang of, but If you’ve made it this far, we salute you on your progress and hope that you were able to do what you set out to do.
If you get stuck at any point just take a look back at what was covered – this guide should provide almost everything needed 🙂 The important thing to remember is that every time you make WordPress development changes to your child theme, you’ll want to make sure that the styling information is updated in the style.css file and any WordPress custom functions are updated in the function’s PHP file so it knows how to find it!
Hopefully, this WordPress development beginner’s guide helped you on your WordPress child theme journey and if not then feel free to contact us for our one-on-one personal WordPress development coaching.